At some point you might find yourself wanting to replace your shrimp tank substrate, whether it’s because your active substrate has expired, or you just want to try a new look.
This guide will help walk you through everything you need to know to change your substrate quickly and safely.
Active substrates
Active or buffering substrates eventually exhaust themselves and stop buffering the water parameters properly. This normally happens after about 18 months, and should be replaced when you start to notice swinging pH levels.
Unfortunately, as most of these substrates also leech ammonia into the water for a few weeks, you will want to rehome your shrimp temporarily. In theory, you could frequently dose a detoxifier like Seachem Prime, but in practice this is quite a lot of effort and risk for little benefit.
As well as toxic ammonia, the water chemistry will also fluctuate for a while as the buffering process kicks in again.
For these reasons, when replacing active substrates, the best option is to move your shrimp into a new home temporarily. You can add the shrimp back once the water parameters are safe and stable again.
Considerations
Before you start to make any changes, you should think about these points:
- Do you have enough beneficial bacteria?
- Do you have baby shrimp?
Beneficial bacteria
The substrate usually holds quite a large amount of beneficial bacteria, like your filter sponge, as it’s where a lot of waste can build up.
Along with the bacteria, other clean up crew members like detritus worms will also live in there too.
Switching the substrate out will essentially reset these populations, so make sure you’ve got enough filtration to avoid crashing your tank’s cycle.
Baby shrimp
If you’ve recently seen a boom in baby shrimp, it might be worth waiting for a little while.

Baby shrimp are incredibly small and almost completely see through, making them very hard to catch and move into another container. Waiting until they’re slightly larger and with stronger colours will make catching them much easier.
Leaving the babies in their mature tank with an aged substrate will increase their chance of survival, too. Biofilm and other tiny amounts of food will be spread all over the substrate.
Preparation
Below is a list of the basic preparation steps to make this job easier.
- Rinse the new substrate, if necessary
- (Optional) Remove large hardscape pieces
- Lower the tank’s water level
- Move the shrimp into a temporary container
- Temporarily turn off the filter
- Lift out any buried plants
Rinse the new substrate
It’s important to remember that not all substrates should be rinsed, e.g. ADA Amazonia soil should be left alone or else you’ll wash away the valuable nutrients.
However, inert options like sand or gravel should be rinsed to prevent cloudy water, and keep your filter sponge clean.
Moving old substrate can kick up lots of loose organic waste sitting on the surface. This waste could lead to an ammonia spike in the water, if there’s a lot of it.
You can reduce the amount of detritus by vacuuming the gravel every so often.
Remove large hardscape pieces
If you’d like to, take out some of the larger hardscape pieces in your tank.
This will make it easier to both catch more shrimp and pour in the new substrate.

Lower the water level
Reduce the water level in the tank as much as you can, leaving roughly 10% in.
This will make it much easier to catch as many of your shrimp as possible. Ideally, the water level would be about the height of your net, so the shrimp can’t dodge it easily.
Another reason to reduce the water is to have more control over where the new substrate is going. Pouring a light material, like sand, into a full tank of water would end up everywhere.
Save as much of the old water as possible, as this will make the re-acclimation process easier. Don’t worry if you can’t save much, or any, it just means you’ll need to drip acclimate the shrimp back in more slowly.
Even if you do manage to save all the water, it’s recommended to acclimate the shrimp back in. The temperature of the saved water and their temporary container could be quite different.
Catch the shrimp
It’s a good idea to catch as many shrimp as you can, and move them into a temporary container or spare tank.
Catching shrimp in your net will be a lot faster with all the big rocks out of the way, and the water level greatly reduced.
Moving around heavy hardscape materials like rocks, or wood, could accidentally fall on them and cause injury. Taking the shrimp away from the commotion of moving things around will also reduce the stress they’re put under. However, they’ll still experience some amount of stress, simply from being moved.
If you’re having trouble trying to herd them into one part of the tank, you could try building a simple shrimp trap, or luring them out with some tasty food.
Don’t panic if you can’t get every single shrimp moved into a new tank, as long as you’ve got the majority to safety.
Turn off filters temporarily
Before you start to take out the old substrate, you’ll want to temporarily turn off your filter.
This will reduce the amount of detritus and smaller substrate particles clogging up your sponge. It’ll also prevent the substrate being disturbed too much when you’re trying to pour the new one in.
Remember to turn these back on again soon, you shouldn’t leave the filters unplugged for too long, or you risk crashing your cycle.
Lift out plants
With the shrimp removed, and your filter turned off, you can start making a mess of the substrate.
Lift out any plants buried into the substrate, and move them to a plastic tub or jug. You can keep them moist by covering them with a lid, or cling film, for example. You might experience something called melting when you add them to the tank again, depending on how long they’ve been kept out of water.
Remove the old substrate
Now it’s finally time to start taking your old substrate out of the tank.
You can do this however you like, e.g. scooping it out with a small cup, using your hands, etc.
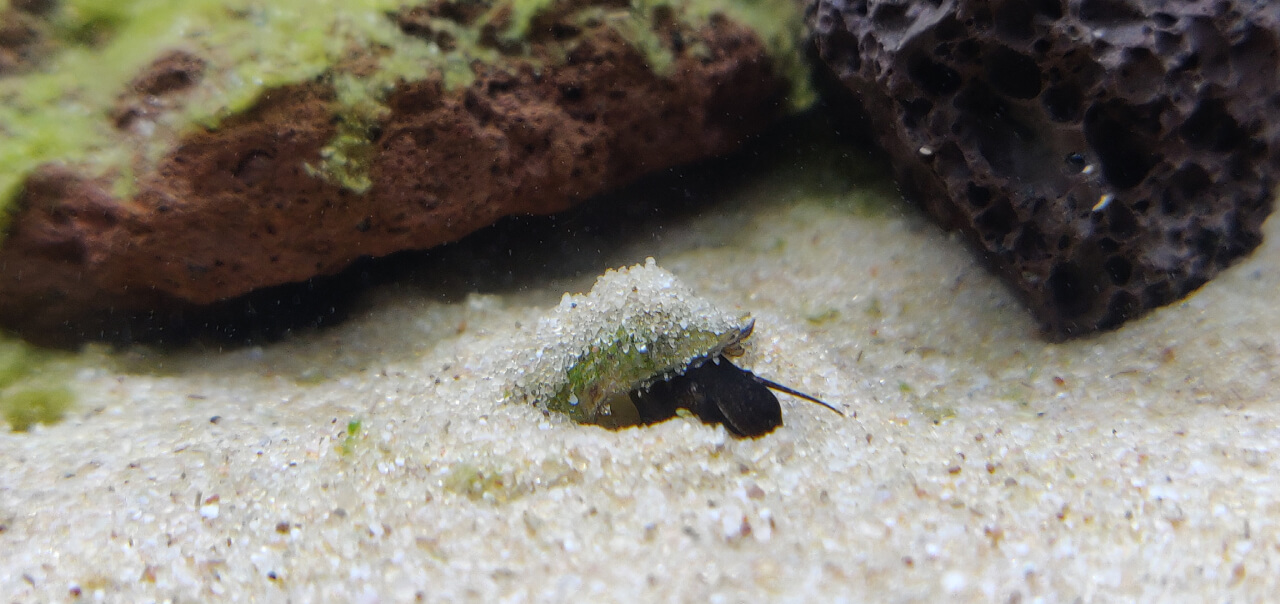
Put the unwanted substrate into a bucket or container to deal with later. If you’ve added burrowing snails, like Malaysian Trumpets, to your tank, then you might want to have a quick look for shells as you remove the substrate.

If you don’t have any future use in mind for your old substrate, make sure you dispose of it properly. Don’t just dump it by a nearby river, as you could risk releasing an invasive species of bacteria or other creature, which could have an impact on the local wildlife.
At the very least, let it dry completely before disposing of it to minimize the risk of anything unwanted living in it.
One possible use for it could be as grit in soil for houseplants that like good drainage, e.g. succulents or cactuses.
Add the new substrate
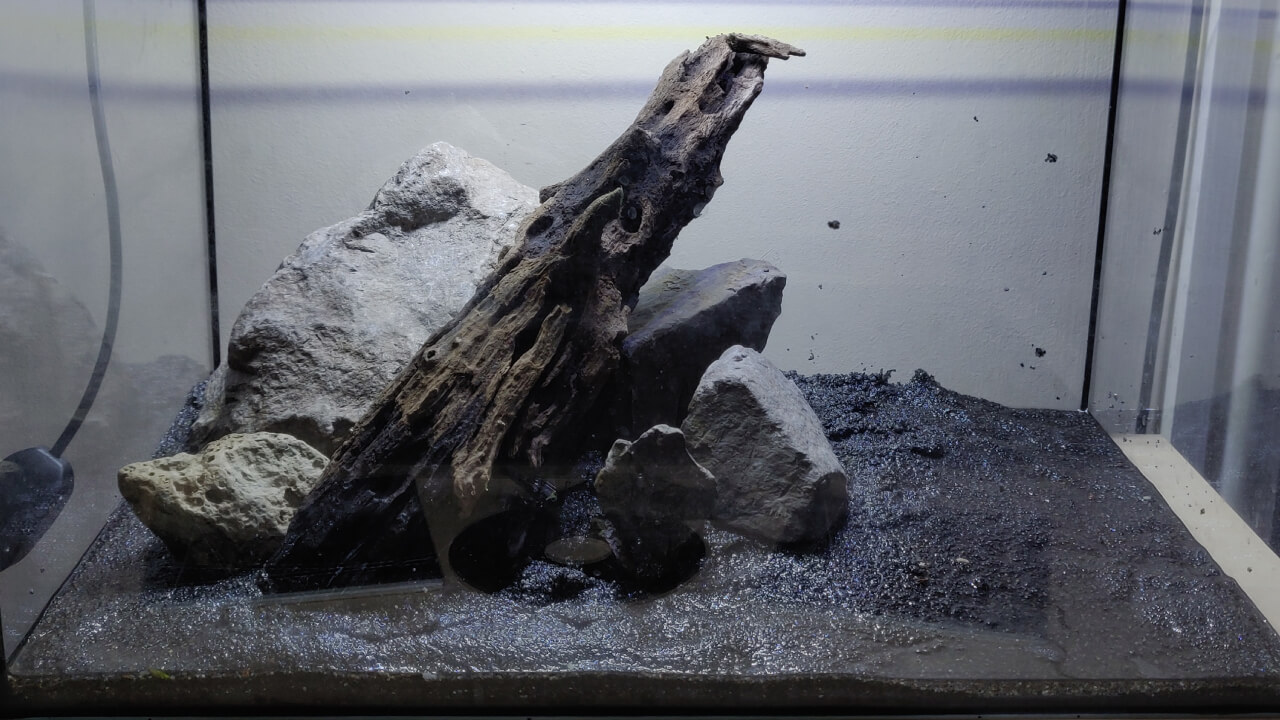
Add your new substrate into your tank and position all the hardscape back to however you’d like it, along with any plants you removed earlier.
When you’re ready to start putting water into the tank, one tip is to put a plate onto the substrate and pour the water directly onto that instead. This will baffle the water flow and prevent your substrate getting thrown around too much, making a mess of your hard work.
Some active substrates will leech ammonia for a few weeks, making it a toxic environment for shrimp and snails. You should make sure you give your tank’s beneficial bacteria enough time to break down the ammonia to safe levels before you return any shrimp back into the tank.
Return the shrimp
Before moving any shrimp back, you should let your water adjust for a couple of hours. The temperature and pH might be quite different to what it was before, depending on what substrate you’ve changed from and to.
After a while, test your tank’s core water parameters, and compare them to the water your shrimp are currently in. This will give you a rough idea of how long the acclimation process should take.
Drip acclimation could be considered overkill, especially if you’re using the same water you took out of the tank earlier. However, it’s possible that the water in the tank and the water in the temporary container have drifted.
Giving the shrimp enough time to adjust to the water will reduce the risk of deaths and problems with their molting process.
You may also need to supplement your shrimps’ diet for a few weeks whilst the natural biofilm builds up again in the background.

